


You may invest in high-quality foundation, a careful skincare routine, and the best sunscreen, yet still struggle with breakouts, patchy makeup, or irritation. Sometimes the culprit is hidden in plain sight: dirty makeup brushes and sponges. Every time you apply makeup, your tools collect oil, dead skin cells, product residue, and bacteria. Without regular cleaning, they can transfer all of that back onto your skin. This guide explains why cleaning your makeup tools matters and how to do it properly.
Why Clean Makeup Tools Matter
Healthier Skin
Makeup brushes and sponges are warm, sometimes damp, and constantly in contact with skin oils – the perfect environment for bacteria and fungi to grow. Using dirty tools can clog pores, trigger breakouts, and worsen sensitivity. People with acne-prone or reactive skin are especially likely to notice a difference once they start cleaning tools regularly.
Better Makeup Application
Product buildup makes bristles stiff and clumped, which leads to streaks, uneven blending, and muddy colors. Clean brushes pick up and distribute product more evenly, giving a smoother, more natural finish. If you want your makeup to last longer and look fresher, clean tools are just as important as good technique – see Essential Tips for Long-Lasting Makeup and Healthy Skin.
Longer-Lasting Tools
Quality brushes can last for years when properly cared for. Regular cleaning prevents bristles from breaking down and keeps them soft and shapely.
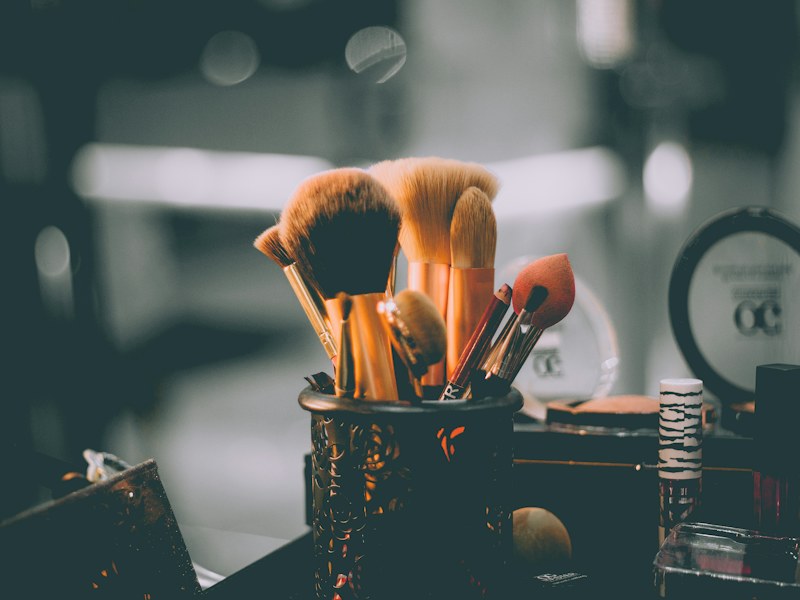
How Often Should You Clean Your Tools?
- Foundation, concealer, and cream product brushes: once a week.
- Makeup sponges: ideally after every use, or at least two to three times a week.
- Powder, blush, and bronzer brushes: every one to two weeks.
- Eye brushes: once a week, especially those used near the lash line, to reduce the risk of eye irritation.
- Lip brushes: after each use or at least weekly.
If you have active breakouts or an eye infection, clean tools after every use and replace any items that may be contaminated.
What You Need
- A gentle cleanser: a dedicated brush shampoo, a mild baby shampoo, or a fragrance-free gentle soap.
- Lukewarm water.
- A textured silicone cleaning mat or the palm of your hand.
- A clean towel.
- Optional: a few drops of a cleansing oil for removing waterproof or long-wear products.
Step-by-Step: How to Deep Clean Makeup Brushes
1. Wet the bristles. Hold the brush with the bristles pointing downward and rinse with lukewarm water. Avoid getting water into the ferrule – the metal part that connects the bristles to the handle – because it can loosen the glue over time.
2. Apply cleanser. Place a small amount of shampoo or soap on your palm or cleaning mat.
3. Swirl gently. Move the brush in circular motions to lift product and oil. You will see the foam change color as makeup is released.
4. Rinse thoroughly. Keep rinsing, still with bristles facing down, until the water runs clear. Repeat the cleansing step if needed.
5. Squeeze and reshape. Gently press out excess water with a clean towel and reshape the bristles with your fingers.
6. Dry flat or upside down. Lay brushes flat on a towel with the bristles hanging over the edge of a counter, or use a brush drying rack. Never dry brushes upright, as water can run into the ferrule and damage the handle.
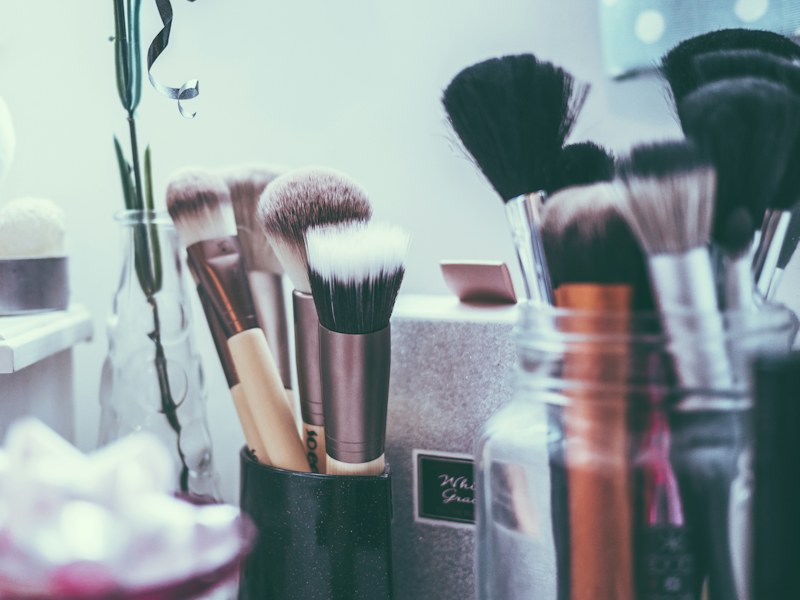
How to Clean Makeup Sponges
Sponges absorb more product and moisture than brushes, so they need more frequent cleaning.
- Wet the sponge until it expands fully.
- Apply a small amount of cleanser or a solid sponge cleanser and massage it in.
- Squeeze and rinse repeatedly until the water runs clear.
- Press out excess water with a towel and allow it to air-dry completely in a well-ventilated space.
Replace sponges every one to three months, or sooner if they tear, develop an odor, or show stains that will not come out.
Quick Cleaning Between Washes
On busy days, a brush cleansing spray can remove surface residue from powder and eyeshadow brushes. Spray onto the bristles and wipe on a tissue until no color transfers. This does not replace deep cleaning, but it helps when you want to switch shades or keep brushes fresh between weekly washes.
Don’t Forget Other Tools
- Eyelash curlers: wipe the pads with micellar water or a gentle cleanser regularly, and replace the pads when they crack.
- Tweezers: clean with alcohol after use – just as important for brow care, as discussed in Professional Tips to Maintain Healthy and Strong Eyebrows.
- Makeup bags: empty and wipe them out every few weeks.
- Powder puffs: wash weekly like sponges.
- Palettes and compacts: wipe surfaces and mirrors to remove dust and fingerprints.
Storing Your Tools Hygienically
Keep clean brushes in a cup with bristles facing up, or in a covered case if you travel. Avoid storing tools in a humid bathroom for long periods, as moisture encourages bacterial growth. Allow sponges to dry completely before putting them away.
Signs It Is Time to Replace a Brush
- Bristles are shedding constantly.
- The brush has lost its shape even after cleaning.
- Bristles feel rough or scratchy on the skin.
- There is a persistent smell or discoloration.
Conclusion
Clean makeup tools are a simple but powerful part of any beauty routine. A weekly cleaning habit helps prevent breakouts, protects sensitive skin, makes makeup look smoother, and extends the life of your brushes. Set a regular day each week for washing your tools, and you will notice the difference in both your skin and your makeup. Healthy beauty is not only about what you put on your skin, but also about how you apply it.